Good Audio on a Budget for DSLR Doc Interviews
For documentary style videos, audio is one of the most important aspects to tell your story. Unfortunately, the cheapest way to get great images, DSLRs, also have the worst options for audio. However, with a little preparation and not a lot of money, it is possible to get good sound in a variety of documentary shooting situations.
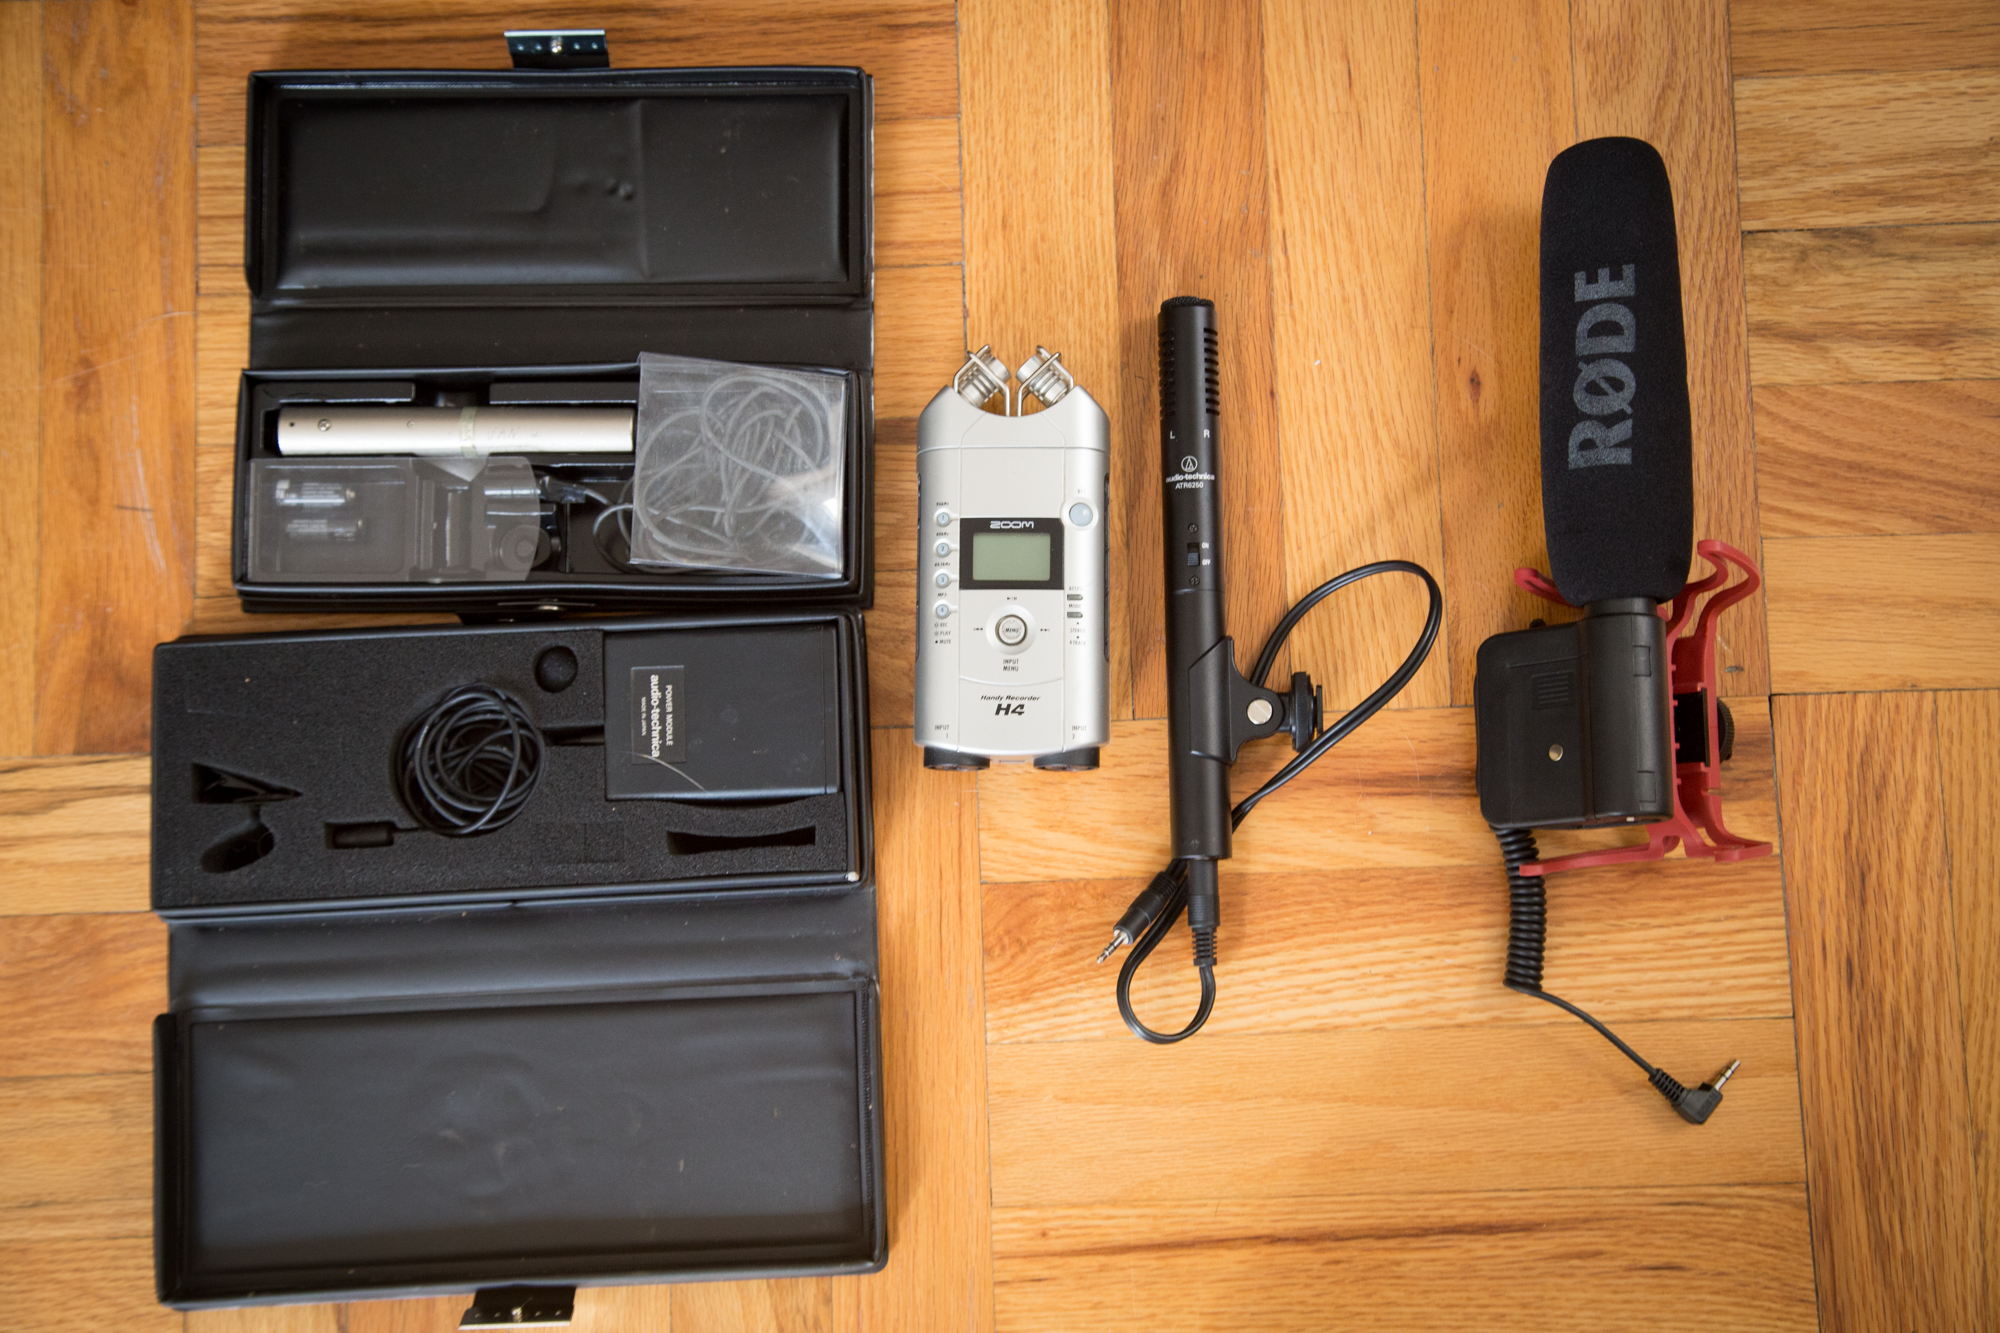
External Mic: For "run and gun" type interviews where you are moving quickly in a crowd and getting short snippets from people, using an external mic is the easiest. It also helps to have a slightly longer cable so it you need to, you can pull it out of the hot shoe and hold it as close as you can get it to the subject, just out of frame. The challenge with this approach is the low quality of most DSLR preamps. You need to carefully set your gain to maximize signal while trying to prevent any clipping if the subject laughs or changes volume. Audio captured using this method has proven useful but usually needs some work in post to get it acceptable (denoiser mainly). We use the Rode Video Mic (~$150) for this. We also have a cheap Audio Technica Mic ($30) that gives better sound than the built in microphone, especially as you get it closer to the subject.
Zoom Recorder and Lavs: The standard way to do interview audio with DSLRs. Running two lavs into an external audio recorder. Most people record the sound internally on the audio recorder and sync later, but we have always had good luck running the line out of the recorder (if it has one) into the line in of the camera and setting the camera audio gain one notch above 0 to simulate a line in. We still record on the zoom as a backup, but have never used it, and always use the audio from the camera. We run two lavs into the recorder for two person interviews. Our Zoom was picked up used for $100 and we have an old Sony lav and newer Audio Technica lav that were around $30 each used (both use XLR connectors). It is also possible to use the zoom's built in mics instead of an external mic with this line in setup. Because the zooms preamps are good, the audio you get with this method is usually better than a regular external mic and contains less hiss, at the expense of the extra hassle of another device.
Cheap Mixer and Lavs: As a cheaper alternative to the standard zoom recorder, if you are shooting in a more controlled environment with power, you can always plug mics into a cheap Behringer mixer ($50 or less used). Basically any cheap mixer will have better preamps than a DSLR. Follow the same directions for setting the input gain on your camera one notch above 0 to simulate a line in, then pan mics left/right to separate multiple mics for editing in post. If you are interviewing 1 person, you can also pan slightly to one side to give you a bracketed signal with one channel loud, and another softer channel about 20 dB lower as a backup in case the main channel clips.
Small Lav Directly Into Camera: The ultimate portable solution. A small lav mic with a 1/8" plug can be connected directly to the mic input on a camera. If you have a small mirrorless camera such as the Canon EOS M, you can have a package capable of great sounding and looking, simple interviews that can fit in your pocket, ready for any unexpected subject matter.